Article sections
This article demonstrates how to set up Vigor Router as VPN server, especially for Ubuntu, and how to establish an L2TP over IPsec VPN from Ubuntu (16.04) to the private network of Vigor Router. It covers the configuration of Vigor Router, the commands to install L2TP over IPsec on Ubuntu, and creating a VPN interface to Vigor Router on Ubuntu.
The Configuration of Vigor Router
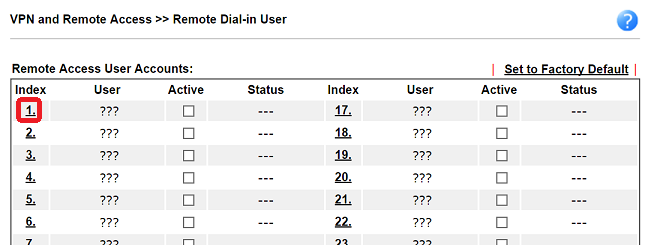
1. Go to VPN and Remote Access >> Remote Dial-In User, and click an available index.
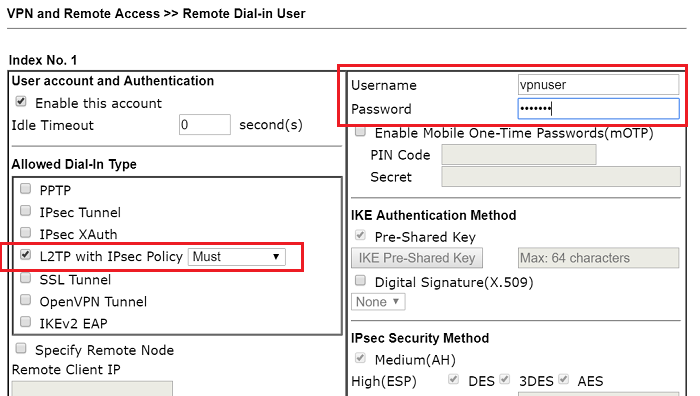
2. Enable this account and enter username/password, make sure you have enabled L2TP with IPsec Policy with « Must » in Allowed Dial-in Type.
3. Go to VPN and Remote Access >> IPsec General Setup and enter a General Pre-Shared Key for L2TP over IPsec VPN

Install L2TP over IPsec on Ubuntu
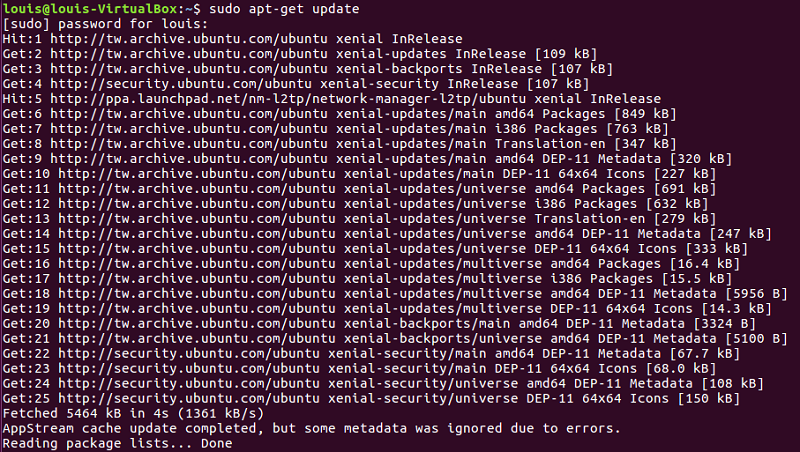
Open terminal to install L2TP over IPsec on network manager by the following commands:
sudo apt-get update
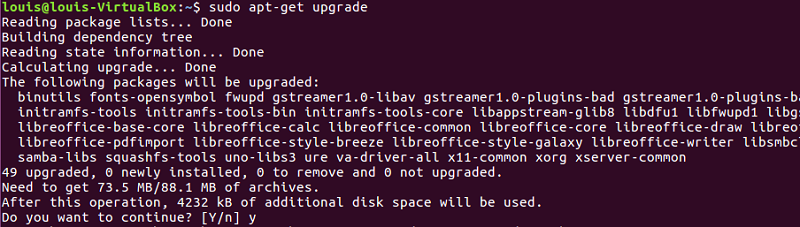
sudo apt-get upgrade
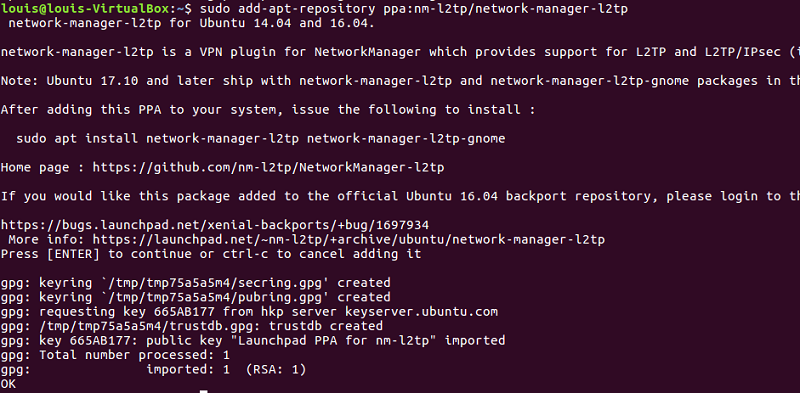
sudo add-apt-repository ppa:nm-l2tp/network-manager-l2tp
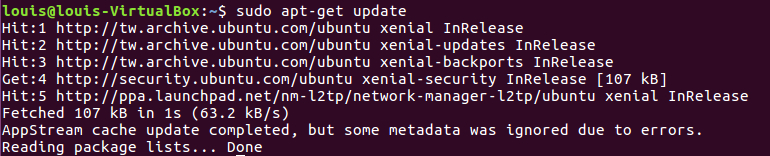
sudo apt-get update
sudo apt-get install network-manager-l2tp network-manager-l2tp-gnome

Establish the VPN from Ubuntu
1. Open System Settings >> Network, click ‘+’ to create a new VPN interface.
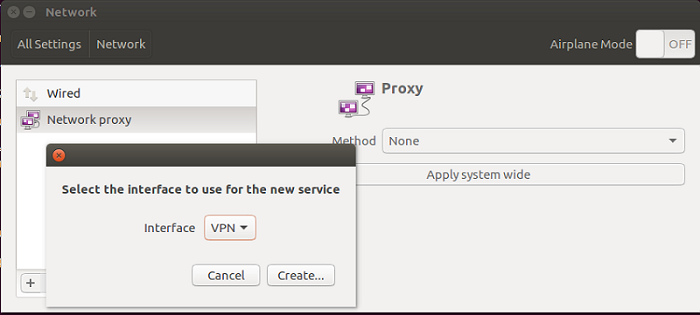
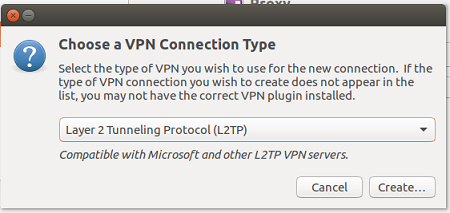
2. Select « L2TP » for VPN connection type.
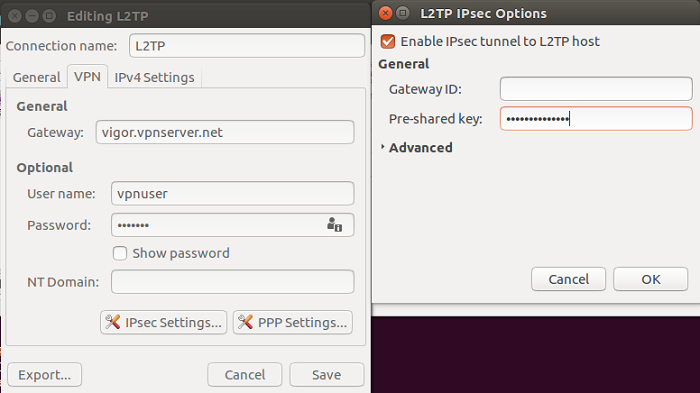
3. Enter Gateway, which is IP or domain name of Vigor Router, and username/password created on Vigor router. Click IPsec Settings and enter General Pre-shared key set on Vigor Router at Pre-Shared Key.
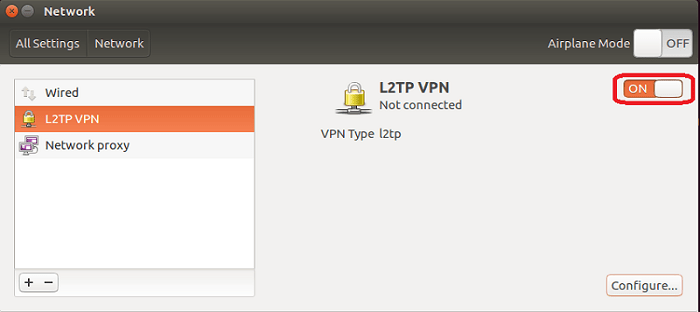
4. Switch on the VPN connection.
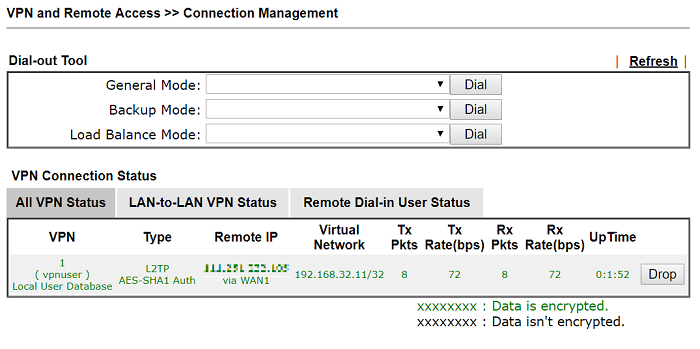
On the router, we can check if the client has connected from VPN and Remote Access >> Connection Management.